When picking onions, you have a lot of options available. Growing onions from seed, while having very clear benefits, is generally a hassle, and so this article will focus growing onions from sets instead.
Onion sets are in stores right now, with Rural King and Lowes in Hamilton definitely offering up varieties. Onion sets tend to look like very miserable chives, but don’t be discouraged. The nice thing about onion sets is that all you need to do is poke holes in your garden bed and stick an individual baby onion inside, just barely concealing the white bulb with soil.
Container gardens are not the best place to grow onions, unfortunately, as each set contains 60 onions or more, and they must be separated during planting. Onions don’t need a ton of space—homegrown onions will tend to be about 3 inches or so in diameter—but squeezing the bulbs into a small container is risky, and you’ll be surrounded by pots upon pots of onion stalks the entire summer.
The time to plant onion sets is now, and this is the crop to work with if you’re staying put until August. As Oxford is below the Mason-Dixie line, varieties of onions grown in Southern states will fare better than those from the north—so, for sweet onions, pick Texan or Georgian sweet onions instead of Walla Walla onions from Washington.
Different onions have different uses in the kitchen. In general, all onions like to start with a well-fertilized, loose soil, but after the bulbs start to enlarge and be visible aboveground, you can control the sweetness of your crop. Giving the onions nutrient-rich water, or fertilizing the ground above the bulbs, will reduce the sweetness. Also, sweeter onions develop when they receive more water. Onions already need a lot of moisture—their roots are very small and they can’t go deep into the soil to get hydration if it’s not immediately available to them, so keeping soil evenly moist will make your onions very happy. This creates a slight complication, as onion bulbs are vulnerable to bulb rot—the trick to avoiding it lies in watering the area around the bulb, instead of getting water between the green stalks where it can pool and give way to fungi and bacteria. This is also why loose soil is paramount, as you want something fast-draining to avoid marshy conditions. Any onions that start flowering are done developing, and should be picked and used like shallots or chives quickly. Alternately, you can allow for the seeds to mature, dry them for a few weeks, and store them for use next year.
Because onions are so nutrient hungry, and onion-preying microorganisms have to wait a year in soil, it’s good to rotate your onion crops to different garden locations year after year.
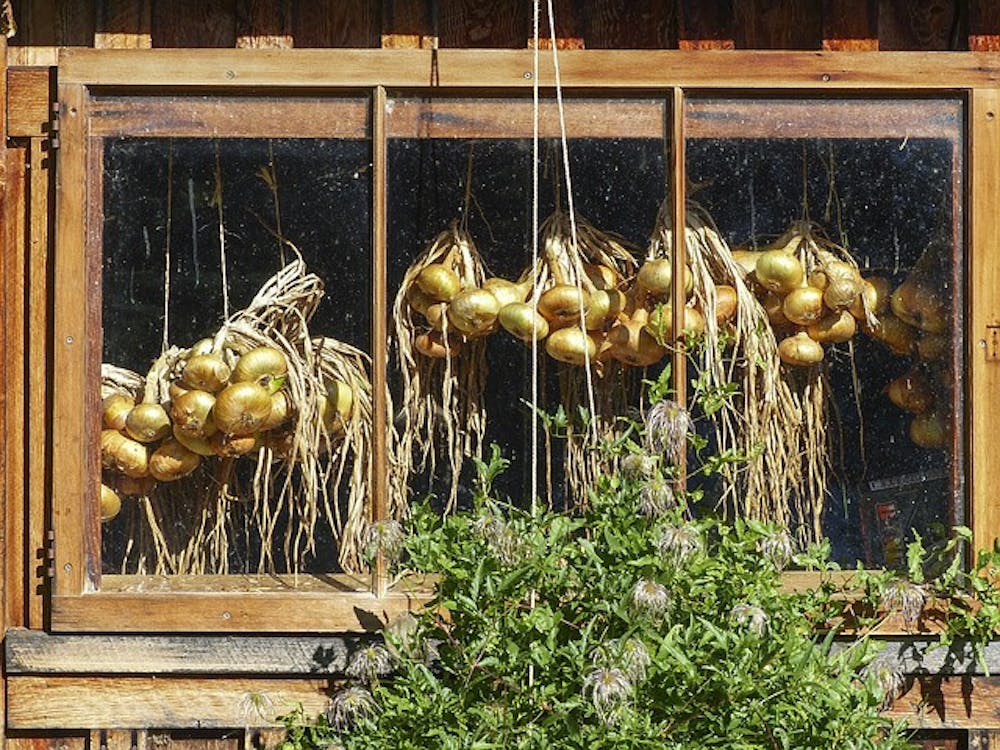
When the onion bulbs start poking out of the ground, your watering and fertilizing habits can change to affect the final flavor of the crop. The onions will be ready to pull out of the ground when the green stalks turn yellow and fall over. You can, of course, pull out onions earlier for immediate use as spring onions or shallots, since all of the plant is edible and onion-flavored. But for large, paper-husked bulbs, wait until the summer starts coming to a close to harvest. This process requires care and patience—bumping the onions will bruise them, which makes it very likely your bulbs will rot. When the tops are yellow for all of your crops, snap them down at about an inch aboveground and slightly wiggle the onion in the soil to loosen it. Wait for the peeking top to turn brown, then bring indoors into a dry place (like an attic, covered porch, or dry basement), to cure for a few weeks. You want to allow for ventilation, so setting them on a screen or in a hanging wire basket is a good idea.
Once the weeks have passed and your onions look nice and papery on the outside, with no palpable moisture and a tight stem “neck”, the onions are ready to eat.
SAVEUR,The National Onion Association, and The Guardian all have inspiring collections of ways to put your homegrown onions on the table.
Photo credit: Creative Commons
Spicy Gardens: Grow your own Onions

